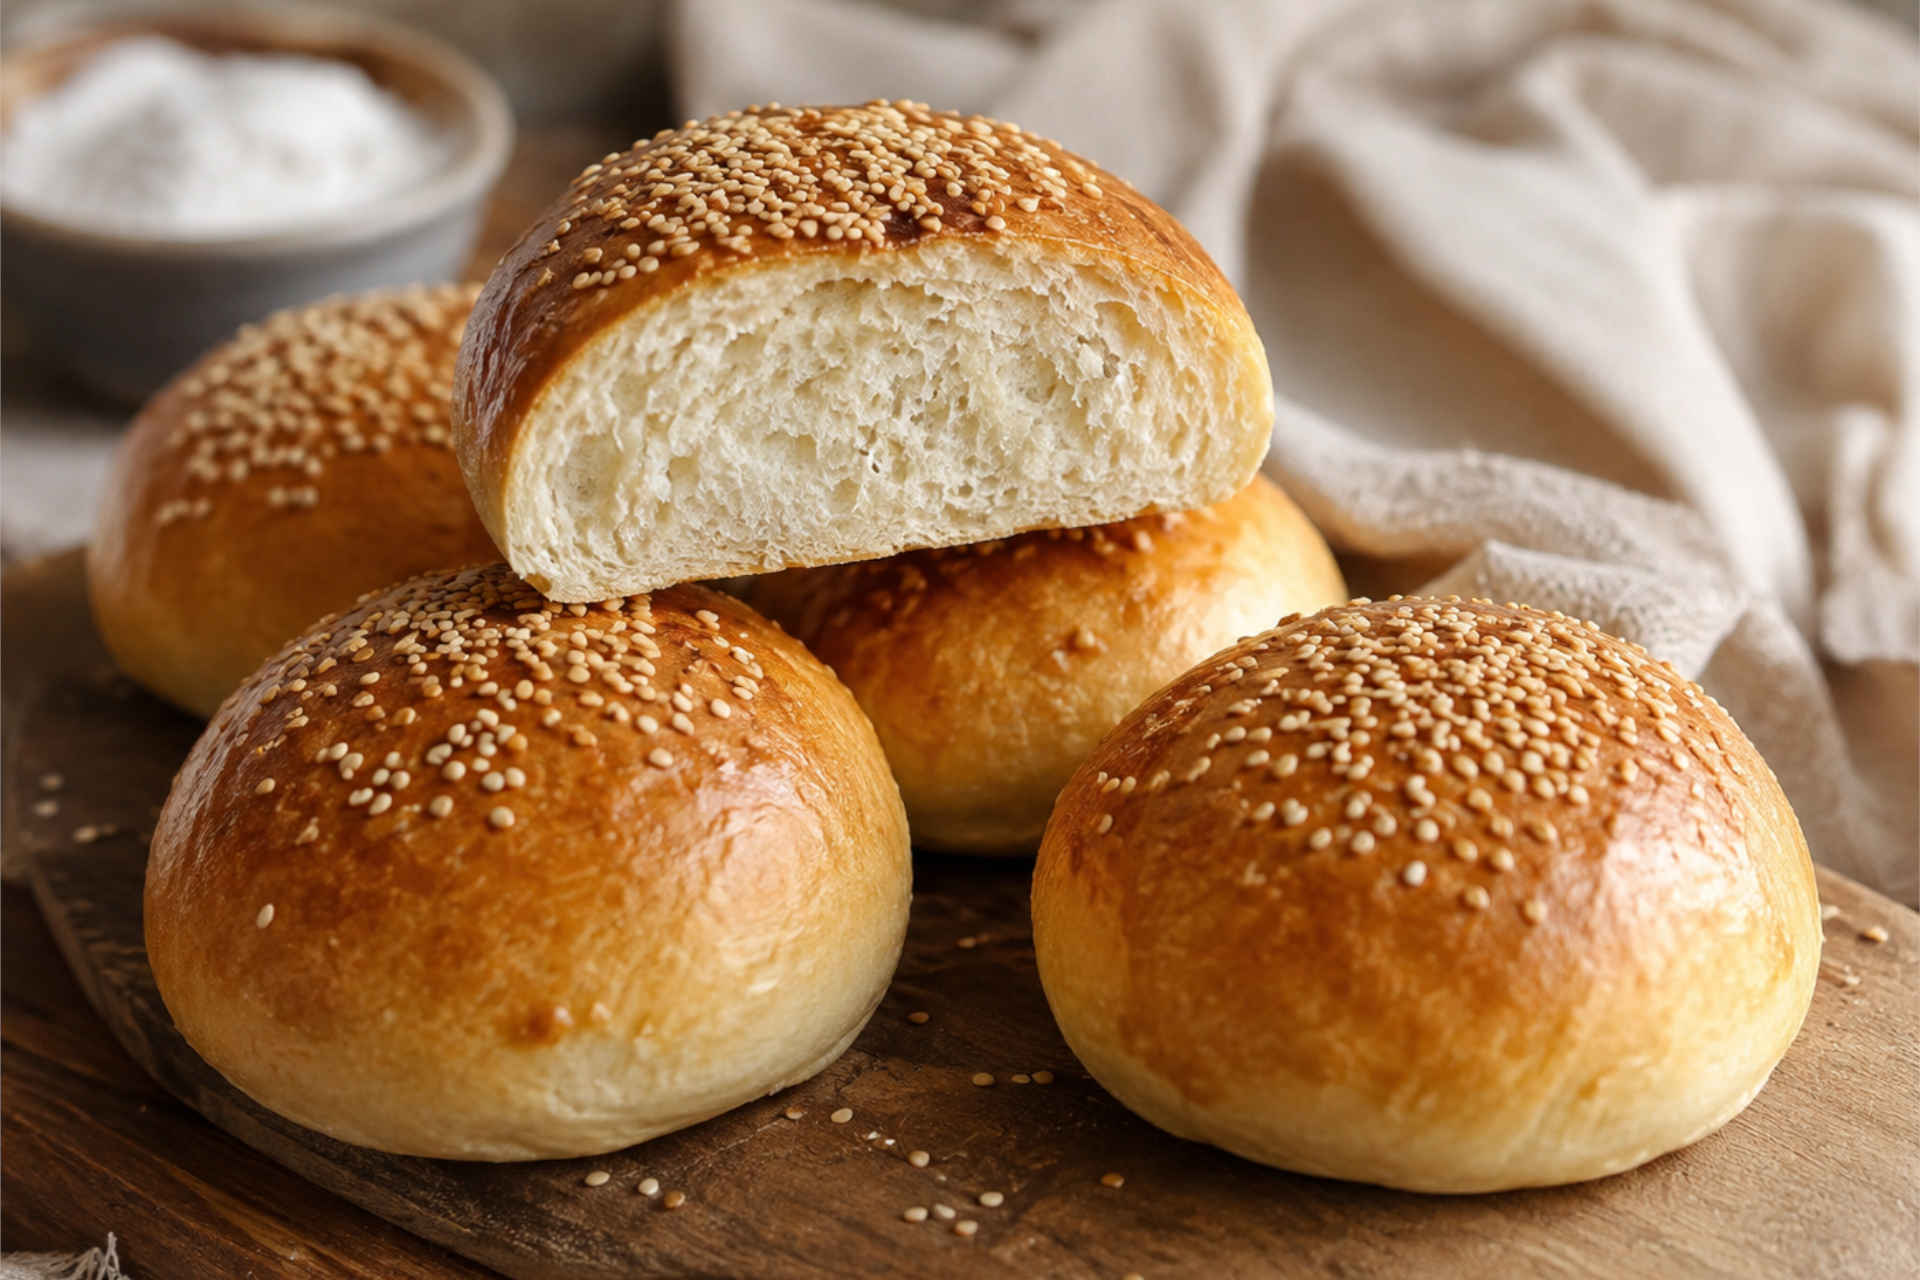
Fluffy gluten-free burger buns. Photo: KI-generiert mit ChatGPT / OpenAI
Gluten-Free Burger Buns Without Sugar
Simple, Airy, and Surprisingly Foolproof
Baking gluten-free burger buns yourself often sounds more complicated than it needs to be. Many recipes call for long lists of ingredients, multiple types of flour, binders, or extra sweeteners just to get the yeast working. This recipe proves otherwise: just five ingredients are enough for wonderfully soft, moist, and reliably rising gluten-free buns. What seems particularly unusual is that the dough contains neither sugar nor honey. Yet it rises magnificently. Yeast doesn't strictly need added sugar; it can also process the carbohydrates present in the flour. The key factors are lukewarm water, sufficient resting time, and a warm, draft-free spot.
For me, these were the first gluten-free buns that turned out truly hassle-free. Slightly golden brown on the outside, soft and pleasantly moist on the inside, and above all sturdy enough to hold burgers, pulled vegetables, or hearty sandwich fillings. Our guests were thrilled every single time as well. For this recipe, I used gluten-free flour from Caputo and kneaded the dough in a Thermomix. However, the preparation works just as well with a KitchenAid or a comparable food processor.
Why These Gluten-Free Buns Work So Well
The high water content keeps the baked goods moist and prevents the buns from becoming dry or dense. Olive oil creates a soft crumb and makes the dough more pliable. Steam in the oven further supports the oven spring and protects the surface from drying out during the initial baking phase.
Important: Gluten-free yeast dough is usually significantly softer and stickier than traditional wheat dough. This is not a mistake. Instead of working in additional flour, simply shape the dough portions with lightly oiled hands. The dough might feel much too sticky, especially if you're not used to working with gluten-free doughs—don't let it throw you off, it will turn out wonderfully!
What Do the Gluten-Free Buns Go With?
The buns aren't just great for classic burgers. They work equally well with:
- any burger variation, such as pulled chicken or pulled vegetables, roasted or grilled vegetables
- breakfast fillings with egg and avocado, egg spread
- sweet spreads for brunch
Frequently Asked Questions
Does yeast dough really rise without sugar or honey?
Yes. Yeast does not require added refined sugar to become active. It can also utilize the carbohydrates from the flour. Lukewarm water, a sufficiently long proofing time, and a comfortable ambient temperature are more important than extra sweetness.
Why is the gluten-free dough so sticky?
Gluten-free yeast dough lacks a gluten network like wheat dough and often contains more liquid. The soft consistency is intentional in this recipe and ensures a moister crumb later on.
Can I use a different gluten-free flour?
The recipe was tested with gluten-free flour from Caputo. Other gluten-free flour blends may absorb liquid differently. Therefore, switching the blend might require a slight adjustment to the amount of water.
Can I make the buns vegan?
Yes. The recipe is already free from eggs, milk, or butter and is therefore completely plant-based, depending on the flour blend used.
Preparation
- 1
Prepare the flour: Put the gluten-free flour into the bowl of a KitchenAid or another food processor. Alternatively, pour directly into the mixing bowl of the Thermomix. Make a small well in the center.
- 2
Dissolve the yeast: Place the dry yeast or crumbled fresh yeast into the well. Pour the lukewarm water over it and let it stand briefly until the yeast has mostly dissolved. Then stir briefly. The water should be pleasantly warm, but by no means hot. Temperatures that are too high can damage the yeast cultures.
- 3
Add salt and olive oil: Add the salt and olive oil to the dough.
- 4
Kneading dough in the Thermomix: Knead the dough for 5 minutes and 30 seconds on the dough setting.
Kneading dough in the KitchenAid: First mix the dough for 30 seconds on low speed, then knead for about 5 minutes on medium speed.
The finished dough remains soft and sticky. Please do not make it firmer by adding extra flour, as the buns may otherwise become dry. - 5
First proofing: Transfer the dough to a lightly oiled bowl, cover, and let rise in a warm place for about 1 hour.
The volume should visibly increase. However, gluten-free dough does not always double as significantly as traditional yeast dough. - 6
Shape the buns: Line a baking sheet with parchment paper. Lightly grease your hands with olive oil and shape the dough into small, evenly sized portions.
Gently smooth the surface and place the buns on the baking sheet with sufficient space between them. - 7
Refine: Brush or drizzle the dough portions with a little olive oil. Sprinkle with sesame seeds if desired.
- 8
Second proofing: Cover the shaped buns and let them rest for another 30 to 45 minutes. Meanwhile, preheat the oven to 220 °C top/bottom heat.
- 9
Create steam: Place an empty baking sheet or a heatproof dish on the bottom of the oven. Carefully pour boiling water into it shortly before inserting the buns. The resulting steam keeps the surface elastic, aids in rising, and ensures that the gluten-free buns stay moist on the inside.
- 10
Bake: Slide the baking sheet with the dough portions onto the lowest rack and bake the buns for about 40 to 50 minutes. Since gluten-free baked goods brown at different rates depending on size, type of flour, and oven, a visual check towards the end of the baking time is recommended. The buns should be golden brown and feel firm. After baking, let cool completely on a wire rack.
Genusspunkt Tip for Extra Pretty Buns
It is better to shape the dough portions a bit taller rather than too flat, as they will spread out during baking. For uniform sizing, the soft dough can be portioned using a lightly oiled spoon or dough scraper. If you prefer a softer surface, brush the warm buns lightly with olive oil after baking and cover them with a clean kitchen towel for a few minutes.
Storing and Freezing
The gluten-free buns taste best when fresh. Stored in an airtight container, they remain moist for about one to two days. Reheat briefly or slice and toast before serving. The completely cooled buns can also be frozen very well. It is most convenient to slice them beforehand and freeze them in portions. That way, the halves can later be warmed up directly in the toaster or oven.
Would You Like to Bake Even More Gluten-Free?
Then explore my other tried-and-tested recipes for gluten-free flatbread, buckwheat bread, wraps, crispbread, and other simple breads turn out reliably and are ideal for everyday meals, brunch, or barbecue evenings.